Uploading images to S3 in Ember.js – Part 2: Improving the Ember bits
04 February 2022
In Part 1 of this series, we added the ability to upload an image from a form directly to S3, using a pre-signed AWS URL. There was a decent amount of AWS configuration involved and by the end of the post we could do just that – upload an image and nothing more.
There was no validation of the image size, no displaying of errors and we didn't even show the image anywhere once it was added.
This post, Part 2, will be quite Ember-heavy: we'll improve the UX and add related features to the app to make use of the uploaded image. More specifically, we'll:
- Show the image on the Details page
- Fix showing the previously uploaded image when coming back to the New band page
- Release object URLs the browser allocated for us
- Prevent uploading an image that's too big
- Prepare editing a band so that we can add the image later
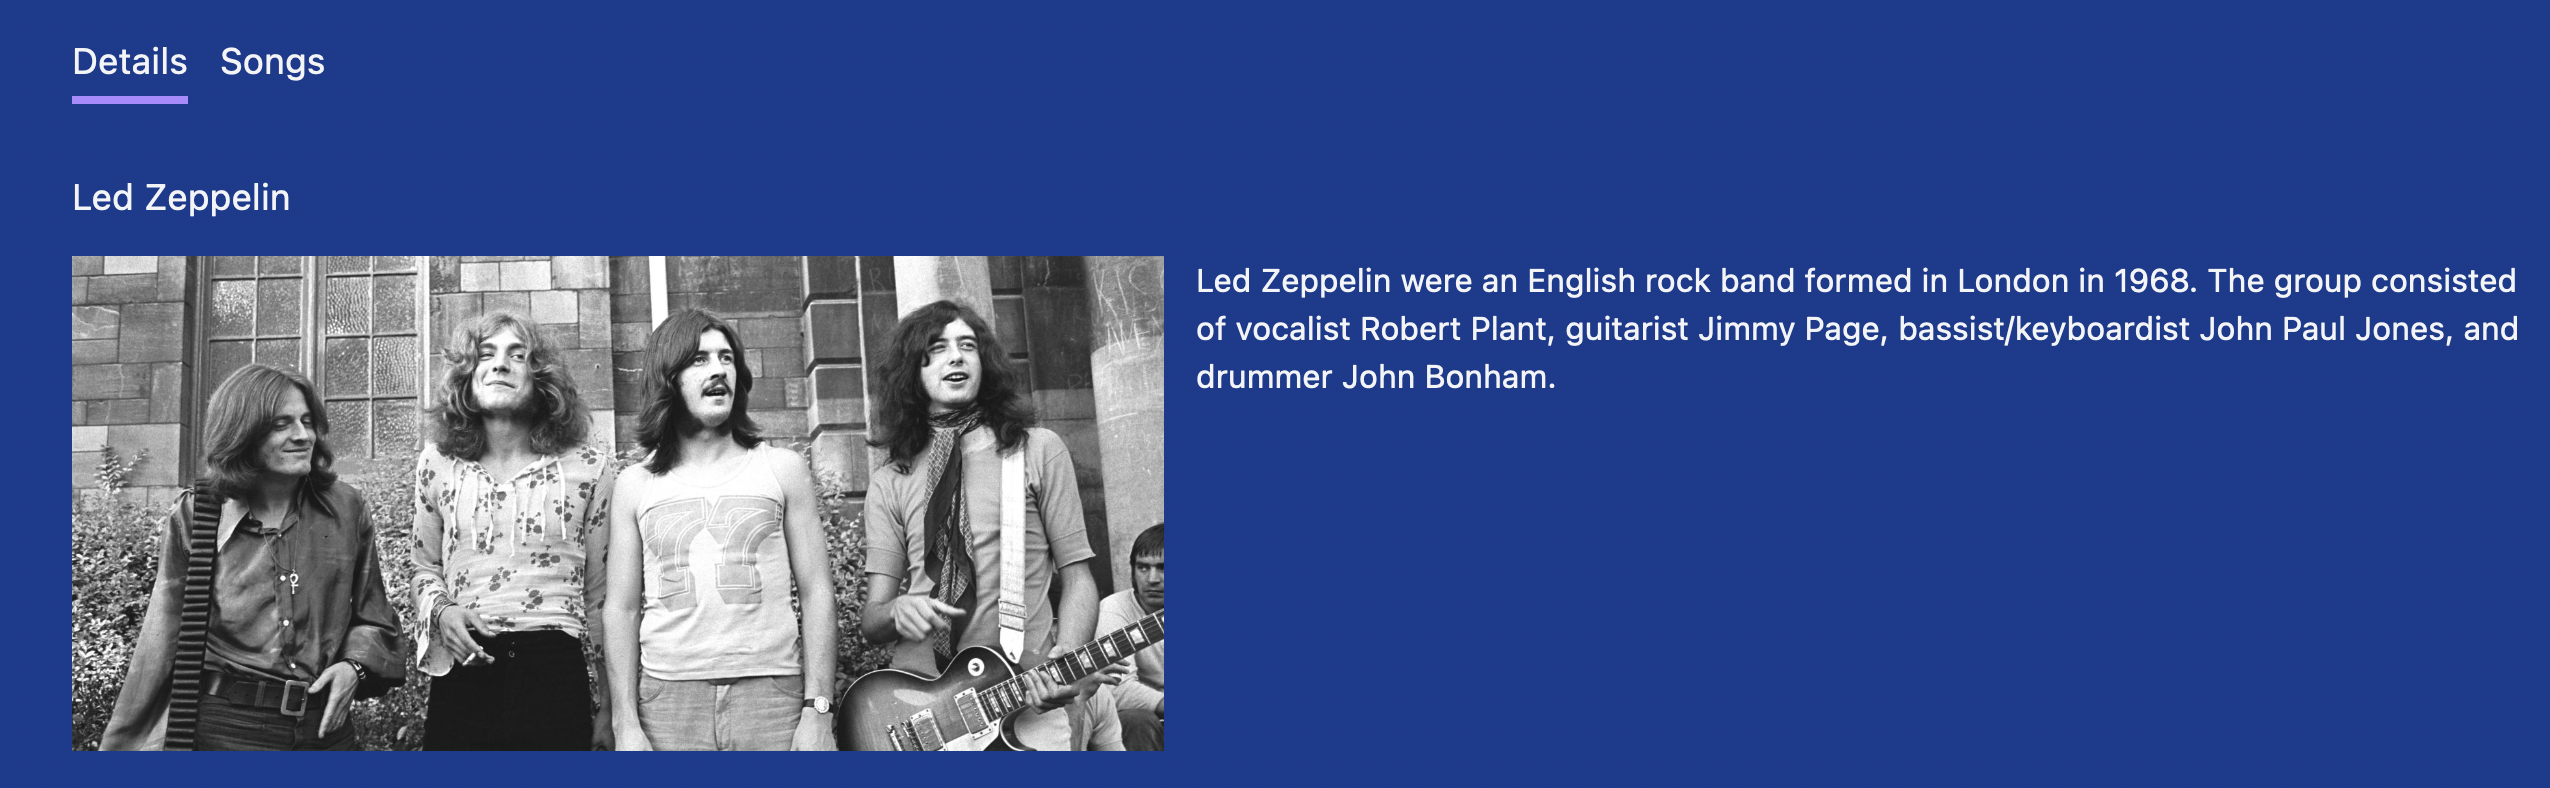
Showing the image on Band Details
Currently, once the image has been uploaded, it was gone. There was no way to see it for the band, we just had to take it on faith.
The page where band details are shown is the aptly named Band Details, so let's show the image there:
That was a nice warm-up exercise.
If you've read the book, you might recall that we use the bands.band.index route as a kind of hub to go either to Band Details (if there's a description) or to Band Songs (if there's no description). Let's refine that so that the user is also taken to Band details if there's an image for the band:
Proper clean-up
The app behaves in a weird way after an image has been uploaded. If the user navigates to another page after that and then comes back to New band (where the image upload takes place), the image is still there:
The seasoned Ember vets among you might have a hunch why that is: controllers are singletons in Ember and since we implemented the functionality using controller properties (and thus, controller state), the state sticks around even if the user navigates away. The solution is to properly clean up when we need to do so.
The designated route hook for this operation is resetController which fires on transitions that leave the route:
We have to reset the controller property but also take care to release the object URL we asked for from the browser using URL.revokeObjectURL. This way, the browser can do its own cleanup.
There's one more place we need to tidy up at – when the image upload has been successful:
 1export default class BandsNewController extends Controller {
 2  @action
 3  async saveBand(event) {
 4    // (...)
 5    let band = await this.catalog.create('band', bandProperties);
 6
 7    if (imageUploadResponse.ok) {
 8      bandProperties['image-url'] = imageUploadResponse.headers.get('Location');
 9      URL.revokeObjectURL(this.imageToUpload);
10      this.imageToUpload = null;
11    }
12    // (...)
13  }
14}
Strictly speaking, we wouldn't need to call URL.revokeObjectURL here, as we navigate away at the end anyway (and so resetController would kick in) but I feel like it's good behavior to release memory as soon as we know it can be released. Who knows what goes wrong between now and then?
Image validation
When it comes to images, I can think of two properties to validate: type and size.
We already have a very rudimentary type validation via the accept attribute of the file input:
Image uploads can be used for malicious purposes and the above doesn't do much in the way of this. It will only make files with the accepted extensions to be selectable in the file picker but it doesn't provide any protection against uploading executable files. The "validation" can be circumvented by adding an accepted file extension to the filename, like malicious.php.jpg.
File validation always needs to be done on the server to prevent this – which is outside the scope of this post.
To validate the file size of the image, we set an arbitrary limit of 1MB and reject images bigger than this before uploading them:
 1// app/controllers/bands/new.js
 2const MAX_IMAGE_SIZE_MB = 1;
 3const MAX_IMAGE_SIZE = MAX_IMAGE_SIZE_MB * 1024 * 1024;
 4
 5export default class BandsNewController extends Controller {
 6  @action
 7  didUploadImage(event) {
 8    this.validationError = '';
 9    let [file] = event.target.files;
10    if (file.size > MAX_IMAGE_SIZE) {
11      this.validationError = `Image should be smaller than ${MAX_IMAGE_SIZE_MB}MB.`;
12      return;
13    }
14    // (...)
15  }
16}
The validation error can then be shown in the form:

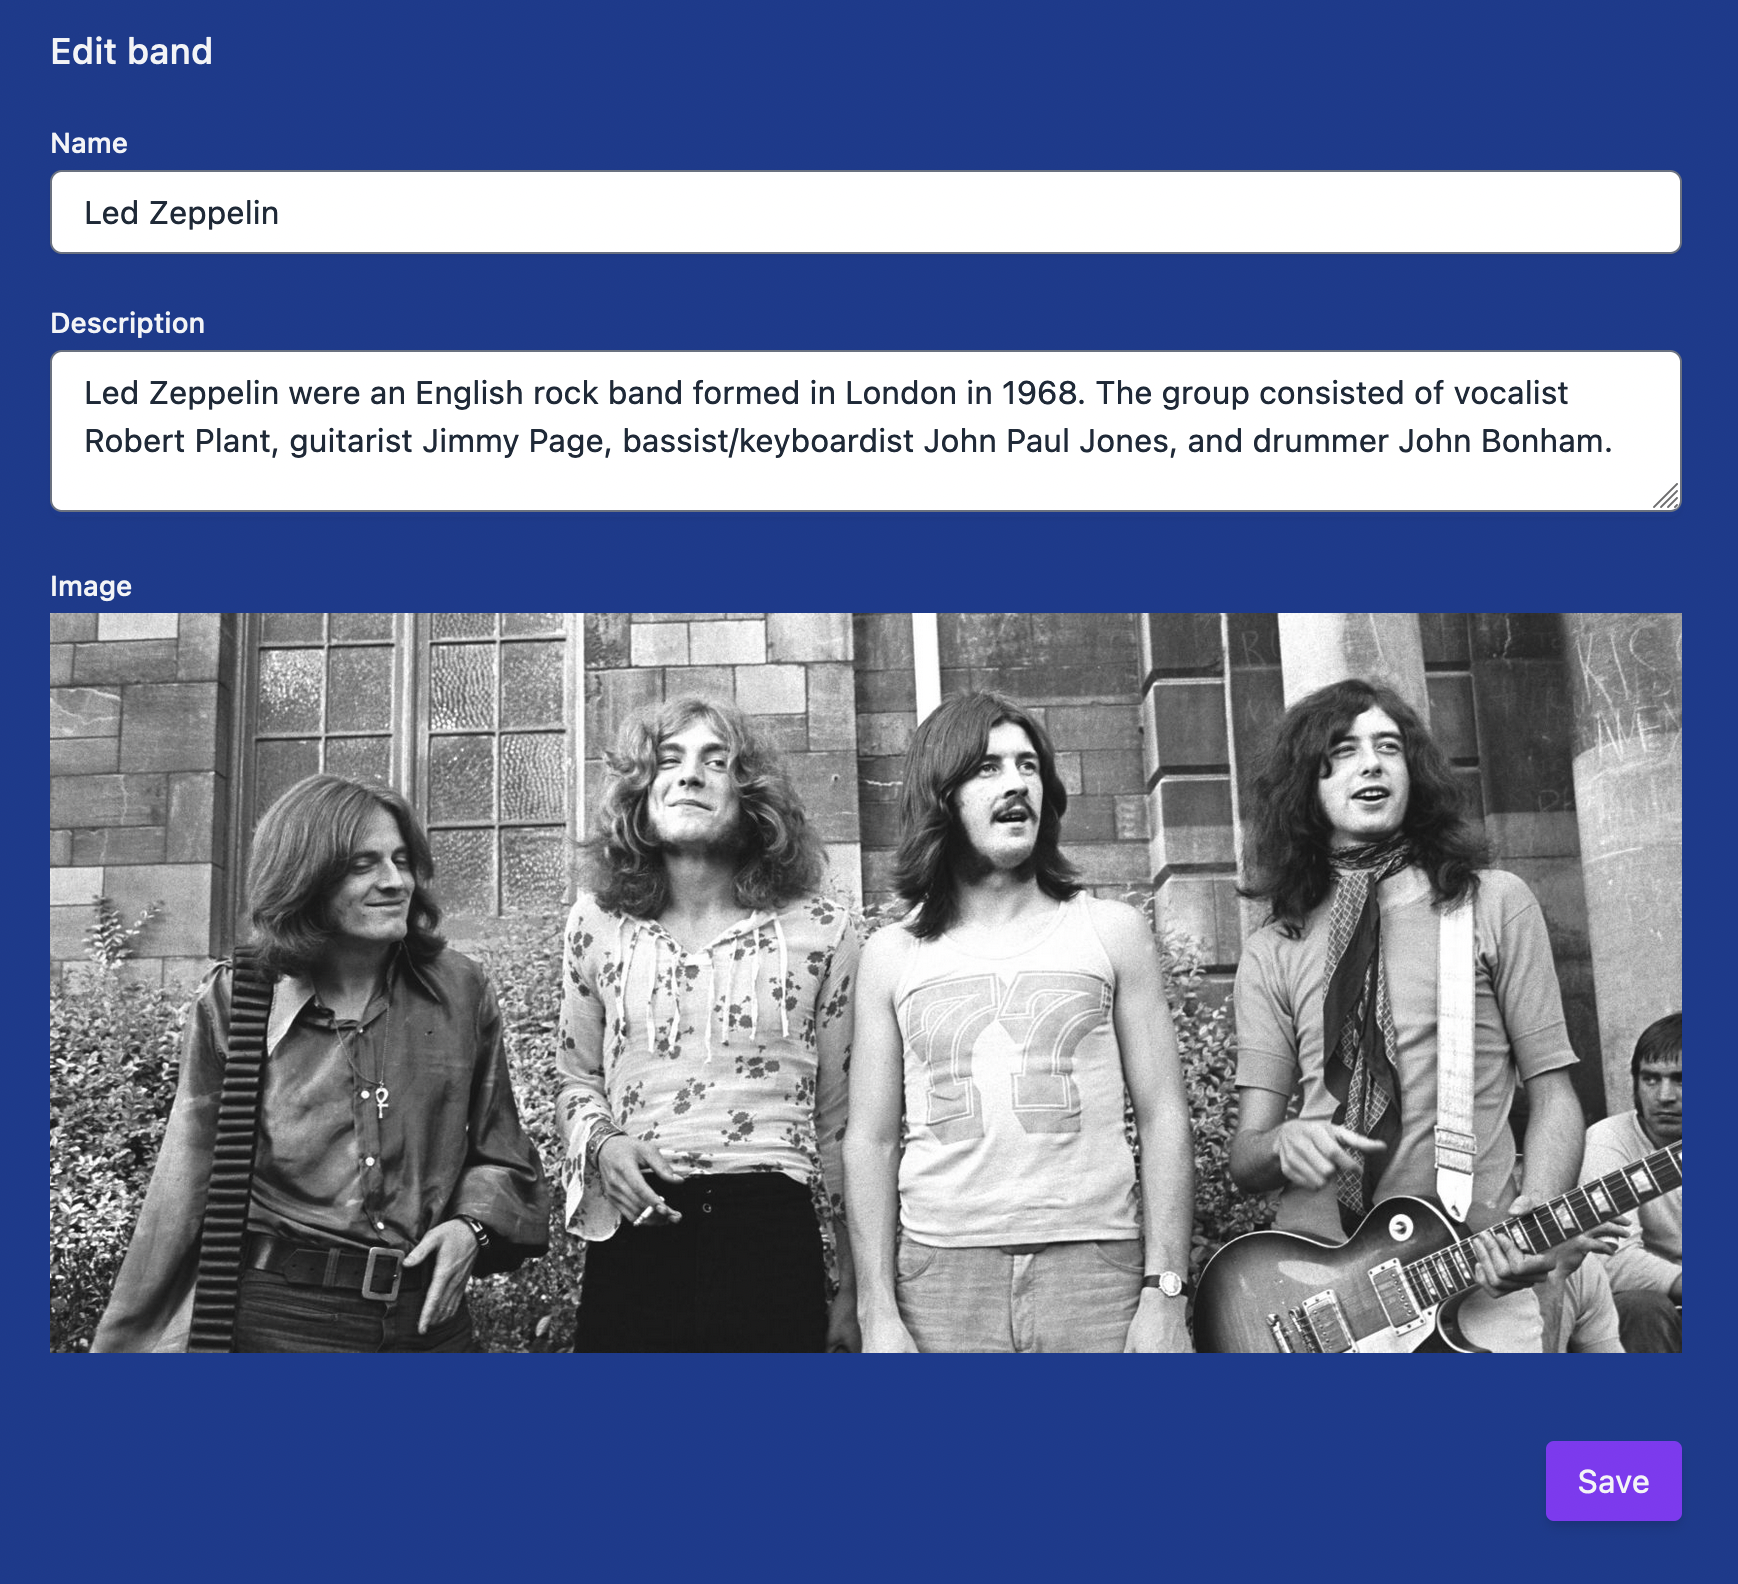
Allow editing a band and adding an image
At this stage, we cannot edit a band: once created, there's no way to change its name, add a description or image.
Let's remedy this and create a dedicated page for band editing:
 1// app/router.js
 2Router.map(function () {
 3  this.route('bands', { path: '/' }, function () {
 4    this.route('band', { path: 'bands/:id' }, function () {
 5      this.route('songs');
 6      this.route('details');
 7    });
 8+    this.route('edit-band', { path: 'bands/:id/edit' });
 9    this.route('new', { path: 'bands/new' });
10  });
11});
You might wonder why I didn't simply add the new route as bands.band.edit, as a sibling to the bands.band.songs and bands.band.details routes? The reason is that we don't want the band navigation (the Details and Songs tabs) to show up on the new, Edit band page.
We want it to look like this:
If we were to add the route below the bands.band route, the corresponding template, bands.band would be rendered and the Band navigation added:
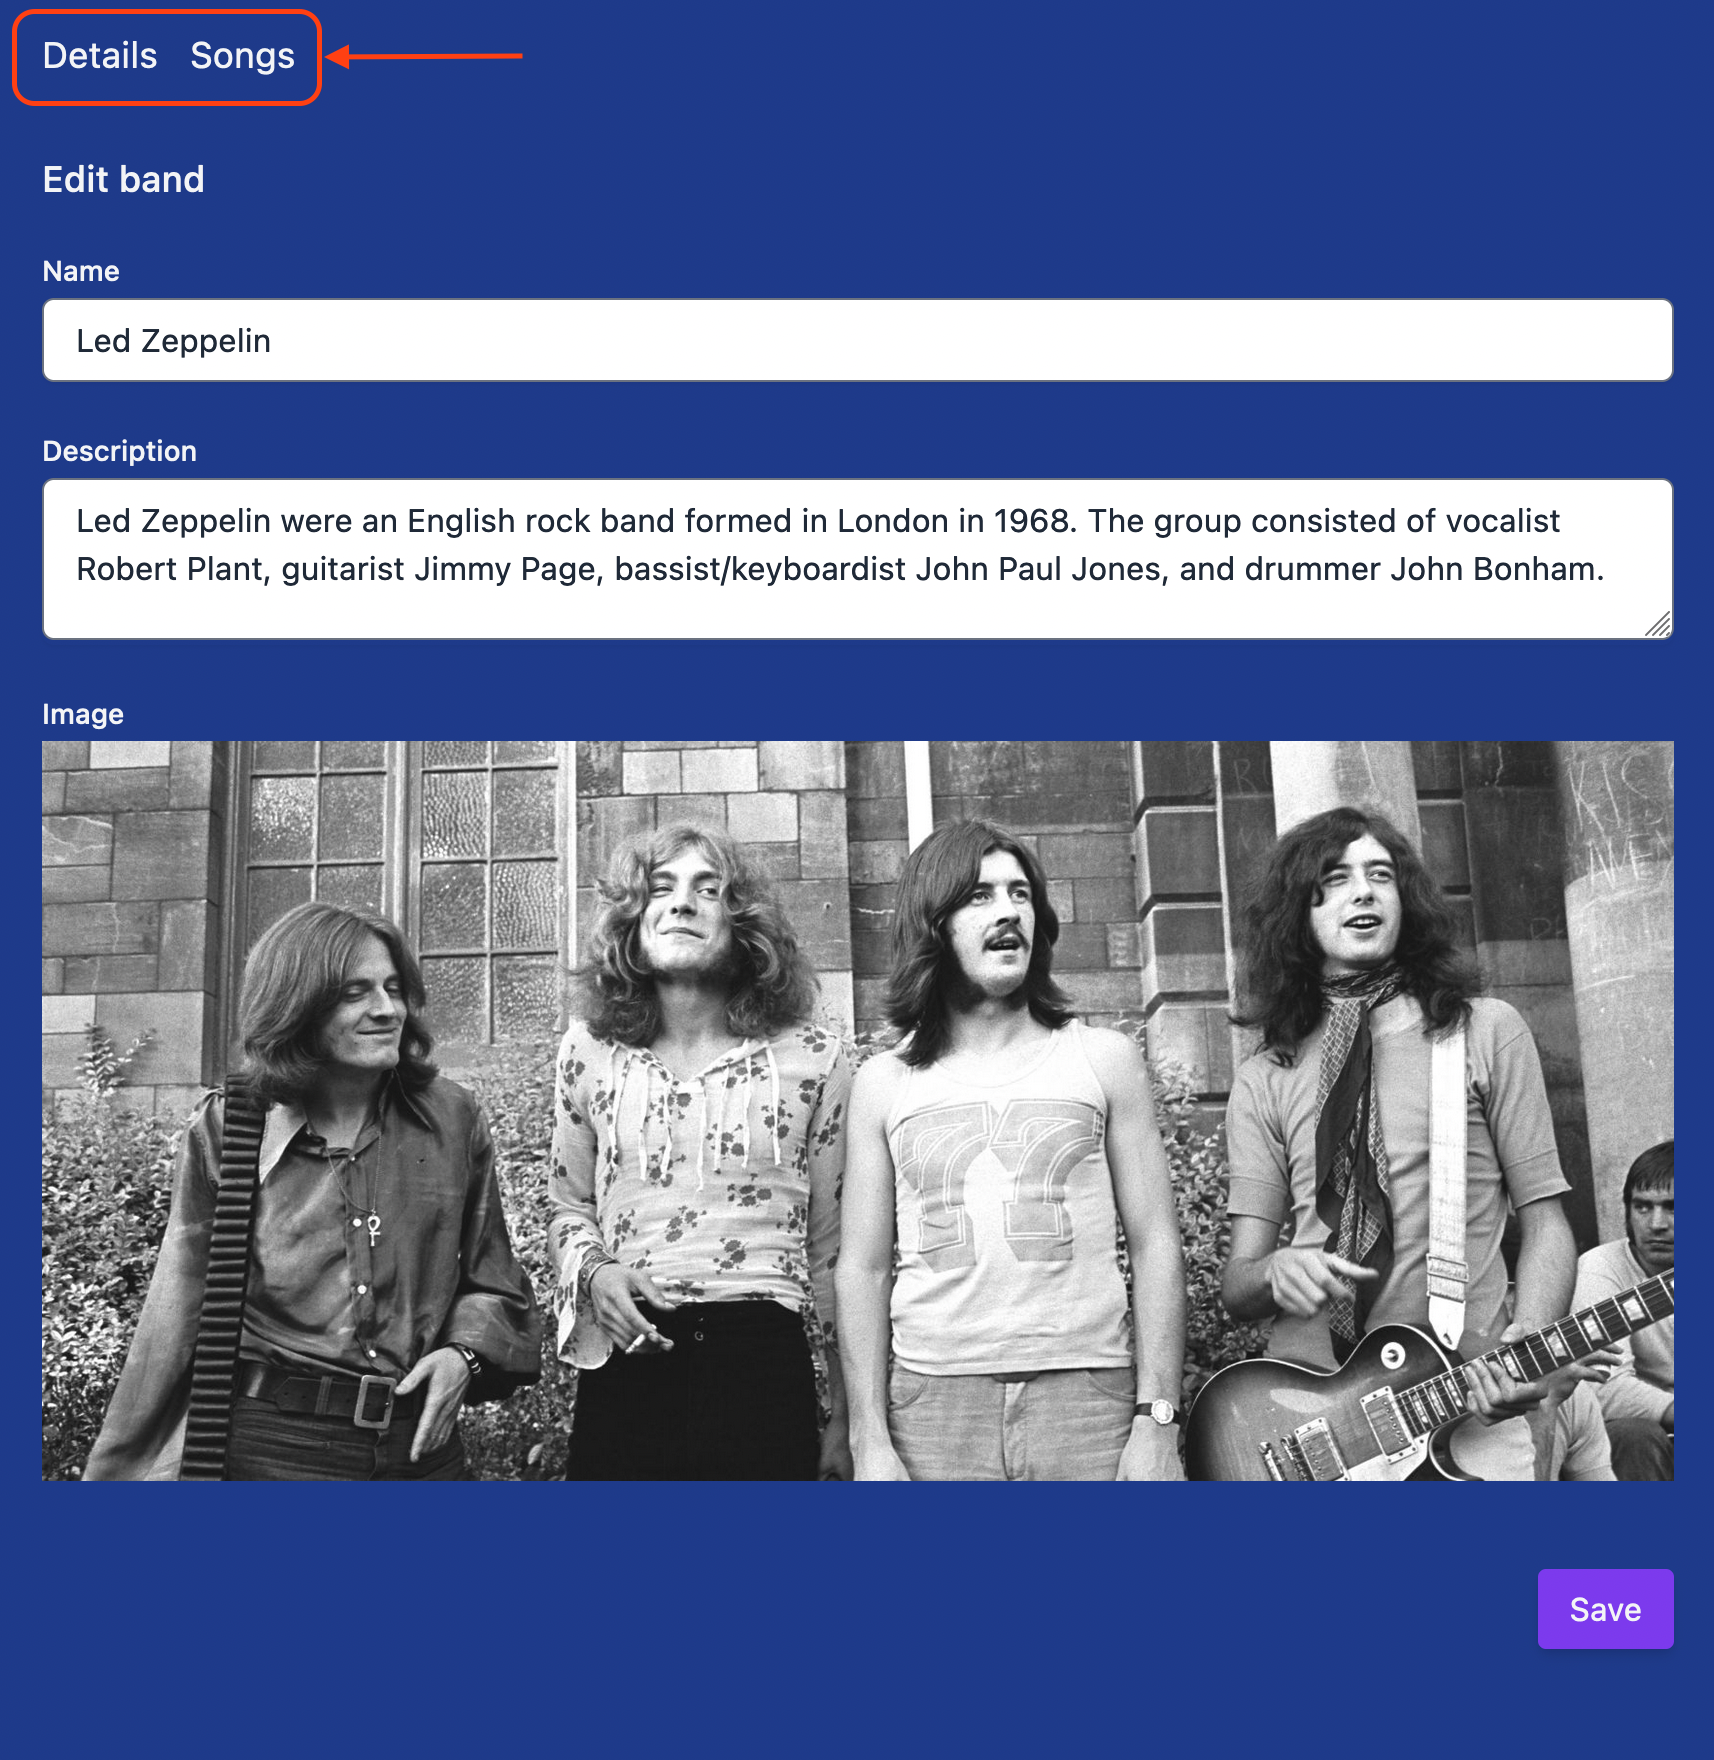
However, we can still have the URL segment we want, thanks to the path option, so the full URL path for editing a band will be /bands/led-zeppelin/edit. Thanks to the Ember router's flexibility we can have both the path and the UI we want.
Let's add a link to this new page to Band details:
With this link added, we are now prepared to add the band form and allow updating a band's details:

Implementing the creation and editing of a band in a nicely structured way would make this post too lengthy, so we'll keep that for next time.
Share on Twitter