Uploading images to S3 in Ember.js – Part 1: Architecture & Setup
09 December 2021
Uploading images in web forms is a topic that has fascinated me for a long time. For some reason, though, I never took the time to deepen my understanding and knowledge – that reason probably being that there are countless exciting topics in web development, not to mention outside web development.
I now started to look into how one implements image uploads "from first principles" (without using an add-on that just does it for you) and the related handling of images. I chose to use S3 as the image storage and upload back-end mostly because it's popular and I've known a little bit about S3 buckets.
In this first post, we'll see:
- How the pieces fit together (aka. the high-level "architecture")
- How to set up AWS to allow direct uploads
- How to send a request for a pre-signed S3 URL from your back-end
- How to implement the client (the Ember) bits
- Things I got tripped up on
Let's jump in.
The high-level architecture
AWS allows direct uploads to S3 buckets so that your back-end doesn't need to be involved which it makes possible through so-called "pre-signed" URLs. You hit a dedicated AWS endpoint to generate such a URL which has the authentication "built in" (with the use of AWS-specific authentication headers). You then use that URL within a certain timeframe to upload the image (or any file, really).
The following sketch should give you a better idea how that works:

AWS setup
You'll need a correctly configured S3 bucket to store files in. I followed the set up laid out in this post but I'll briefly summarize here:
1. You should create a dedicated IAM user in AWS whose credentials you'll use for the whole process.
I called it uploader and gave the user the AmazonS3FullAccess:
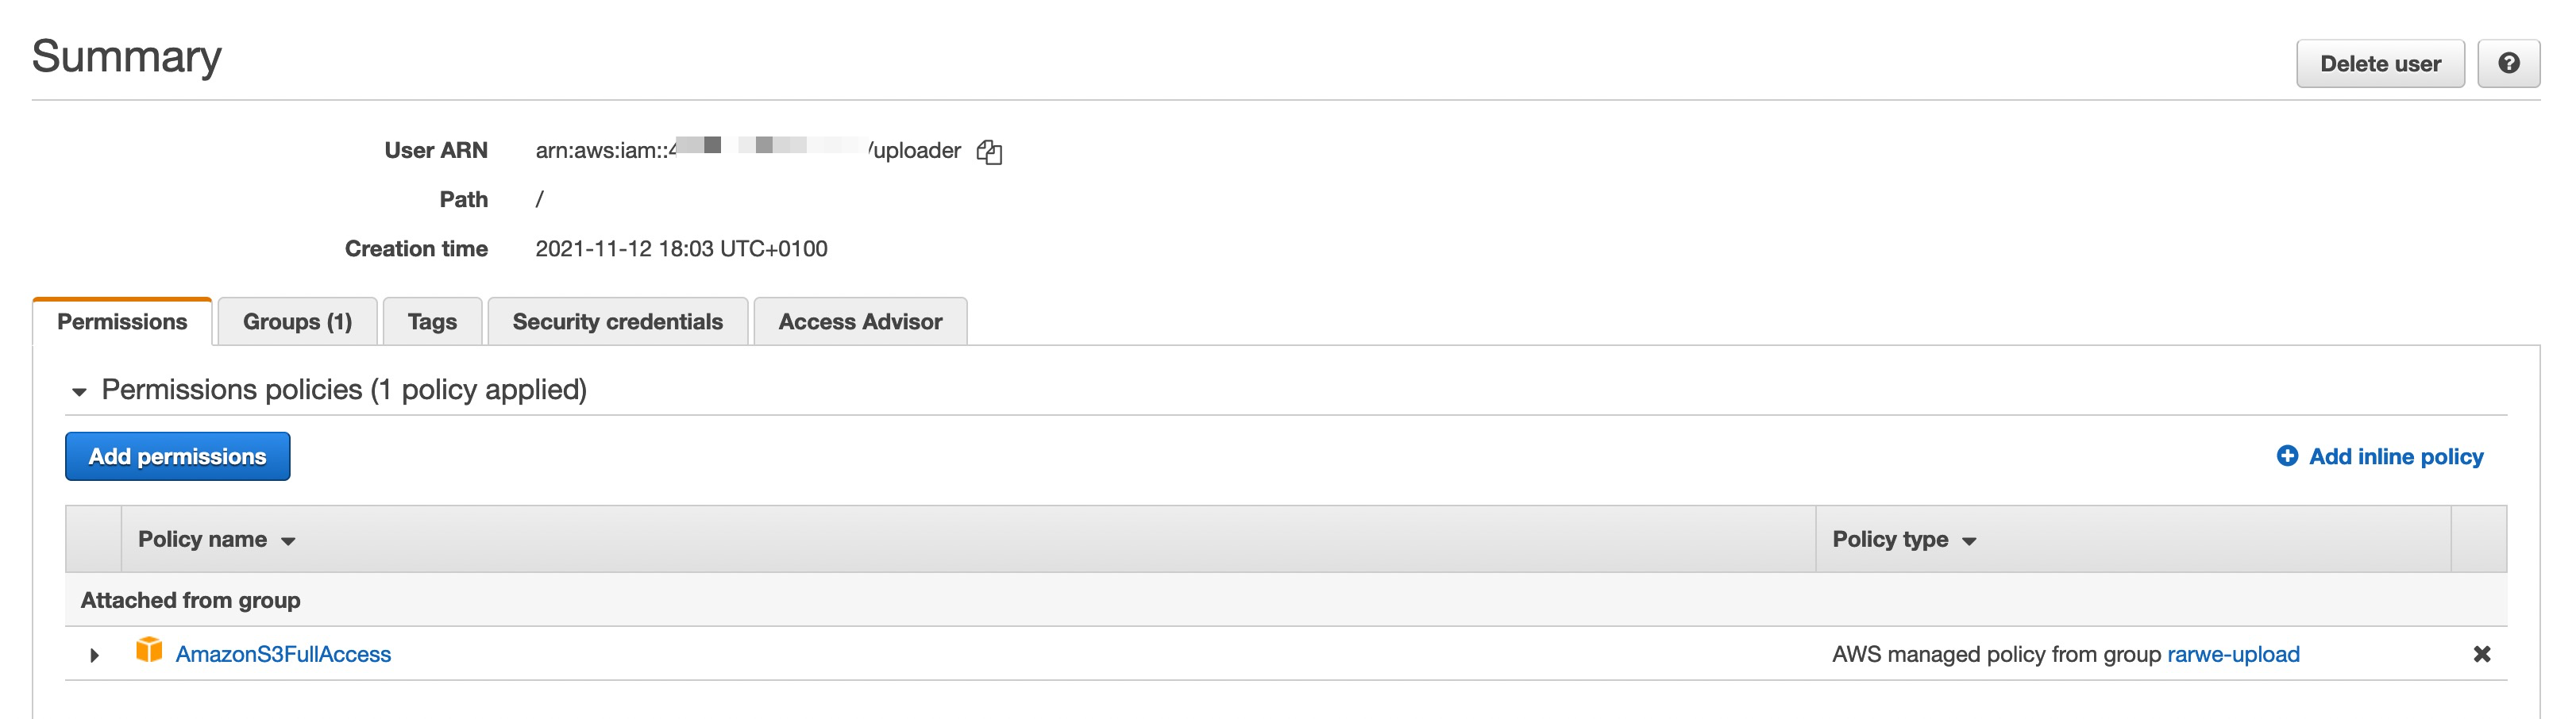
You'll need the access key id and secret access key of that user later, for generating the pre-signed URL.
2. Create an S3 bucket with the appropriate bucket policy
The policy should allow everybody to read from the bucket folder the images are uploaded in.
It looks something like this:
The Principal is not the head of the school, but identifies who is allowed to access the bucket objects. In this case, it's everybody.

This only gives the grand public permission to access the objects in the image-uploads folder where the images will be stored. Note the trailing slash and asterisk in arn:aws:s3:::rarwe-dev/image-uploads/* - we want to give read permission not only to the folder itself but all objects within that folder.
3. CORS setup
Since this bucket will be accessed from different domains, we need to define where requests are accepted from, which http verbs are accepted, and so on.
With this configuration, any localhost port will be accepted as Origin which allows us to use any port number when developing locally. The deployed app lives at https://app.rockandrollwithemberjs.com, so a corresponding item needs to be added to AllowedOrigins.
Exposing the Location header is needed since that's how AWS shared the full URL of the uploaded file in the response of the pre-signed URL (we'll see more about that later).
The back-end
If you take a look at the architecture sketch above, you'll see that the sole job of the back-end is to create the pre-signed URL, consulting with S3. It's usually not a good idea to store secrets in a front-end application and the secret access key of our IAM user definitely falls in this category so that's why we need to do this in a back-end.
The API serving the Rock & Roll with Ember.js app is a Rails app so I resisted the urge to create a micro-service and simply added a controller action for generating the pre-signed URL (I stole this from another great post on the subject):
 1class UploadsController < ApplicationController
 2  def presign
 3    aws_credentials = Aws::Credentials.new(
 4      ENV['AWS_ACCESS_KEY_ID'],
 5      ENV['AWS_SECRET_ACCESS_KEY']
 6    )
 7
 8    s3_bucket = Aws::S3::Resource.new(
 9      region: ENV['S3_REGION'],
10      credentials: aws_credentials
11    ).bucket(ENV['S3_BUCKET'])
12
13    presigned_url = s3_bucket.presigned_post(
14      key: "image-uploads/#{SecureRandom.uuid}/${filename}",
15      success_action_status: '201',
16      signature_expiration: (Time.now.utc + 15.minutes)
17    )
18    data = { url: presigned_url.url, url_fields: presigned_url.fields }
19    render json: data, status: :ok
20  end
21end
To make this work, I needed to install the aws-sdk-s3 gem
All the secrets and configurable bits come from environment variables.
That's all there is to the back-end components: we're ready to write some front-end code and put the pieces together.
The Ember bits - uploading the actual image
We'll add an file upload field to the "New band" form made in the book:
The input type needs to be file for file uploads. The above snippet gives us a decent looking form with a file input where we can drag & drop our image or select it manually from our file system:

Preview the selected image
The branch where this.imagePreviewSrc is true serves to show a preview if an image has been selected. We know this by listening to the change event of the input. It follows, then, that we should set the imagePreviewSrc to a displayable image path in the didUploadImage action.
We'll create a "blob", a local object for this purpose:
The files property of the event always contains a list of files to accommodate for being able to choose multiple files to upload. In our case, we allow a single image, so we just take the first item. URL.createObjectURL is the browser method to create a blob URL for a file.
Here is what we see after selecting an image:
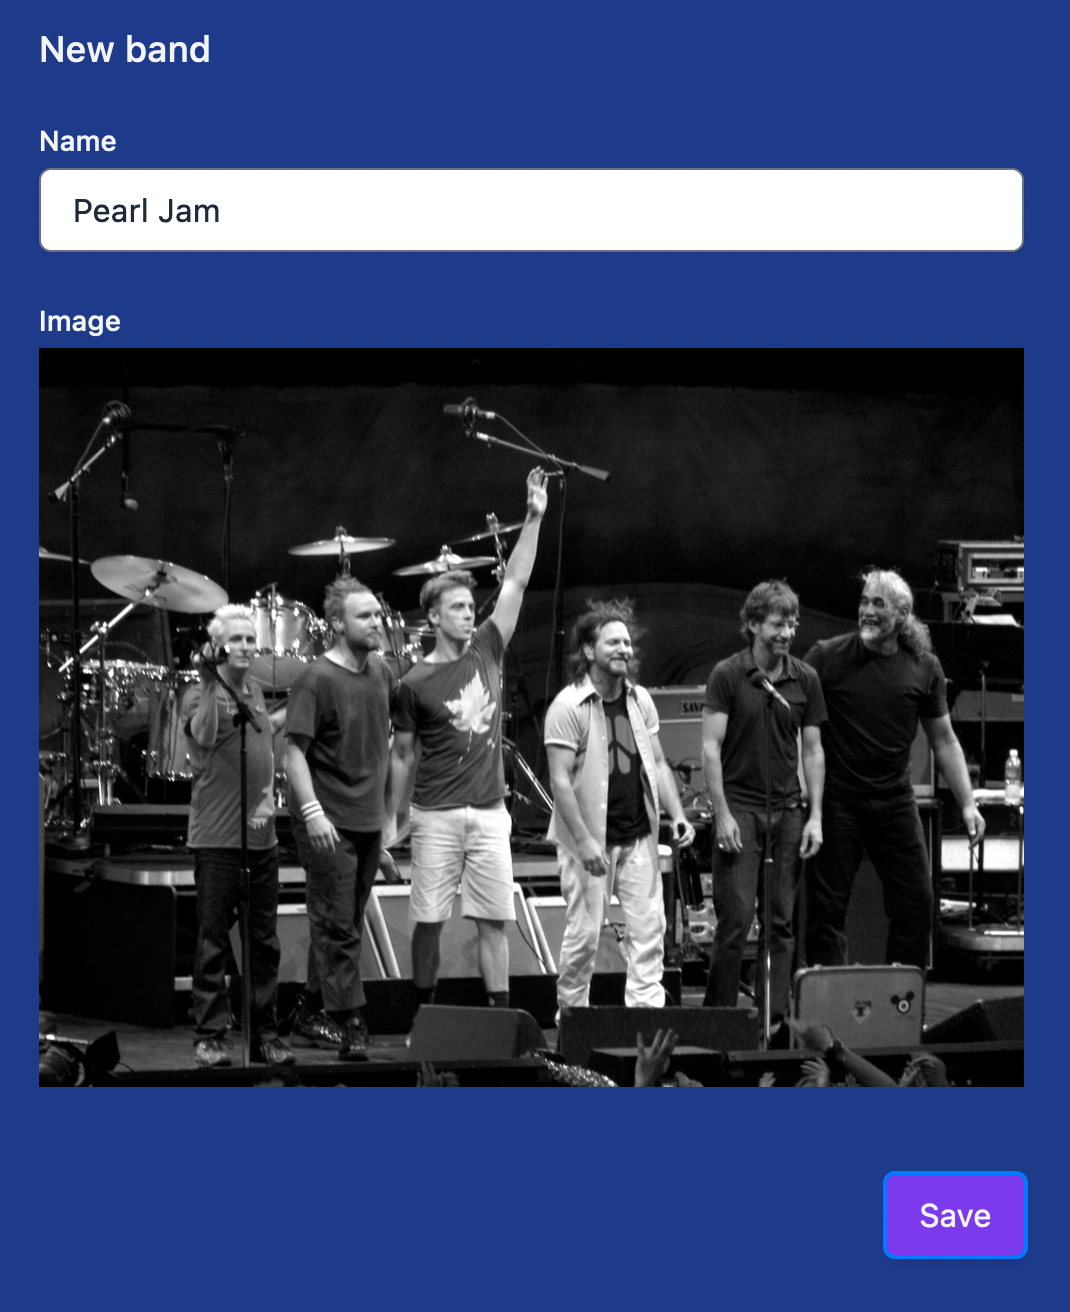
Upload the selected image
We're now ready to upload the image.
As shown above on the sketch, we'll first have to make a request to our back-end to obtain a pre-signed URL to our S3 bucket and then make a request to that URL to upload the image directly.
 1// app/controllers/bands/new.js
 2export default BandsNewController extends Controller {
 3  // (...)
 4  @action
 5  async saveBand(event) {
 6    event.preventDefault();
 7    let response = await fetch('/presign-aws-request', {
 8      method: 'POST',
 9    });
10    let { url, url_fields: urlFields } = await response.json();
11
12    let formData = new FormData();
13    for (let field in urlFields) {
14      formData.append(field, urlFields[field]);
15    }
16    formData.append('file', this.imageToUpload);
17
18    let imageUploadResponse = await fetch(url, {
19      method: 'POST',
20      body: formData,
21    });
22
23    let bandProperties = {
24      name: this.name,
25    };
26
27    if (imageUploadResponse.ok) {
28      bandProperties['image-url'] = imageUploadResponse.headers.get('Location');
29    }
30    let band = await this.catalog.create('band', bandProperties);
31    // (...)
32  }
33}
The back-end endpoint to create the pre-signed URL is available at /presign-aws-request. You'll notice that we don't need any parameters, or payload: a simple POST to the endpoint will return the S3 bucket url and the fields we need to set on the request.
Because we assemble the request via JavaScript, cancelling the default behavior of encoding the form as "multipart/form-data", we need to create the same encoding before sending the payload: that's what appending fields to a FormData object achieves.
If the image upload to the S3 bucket was successful, we extract the location of the image in the bucket from the Location header (that's why this needed to be allowed in the CORS config above), and create the new band on the back-end with the name and image-url properties.
The image-url property is now part of the band's attributes and will be sent by the back-end if it's present.
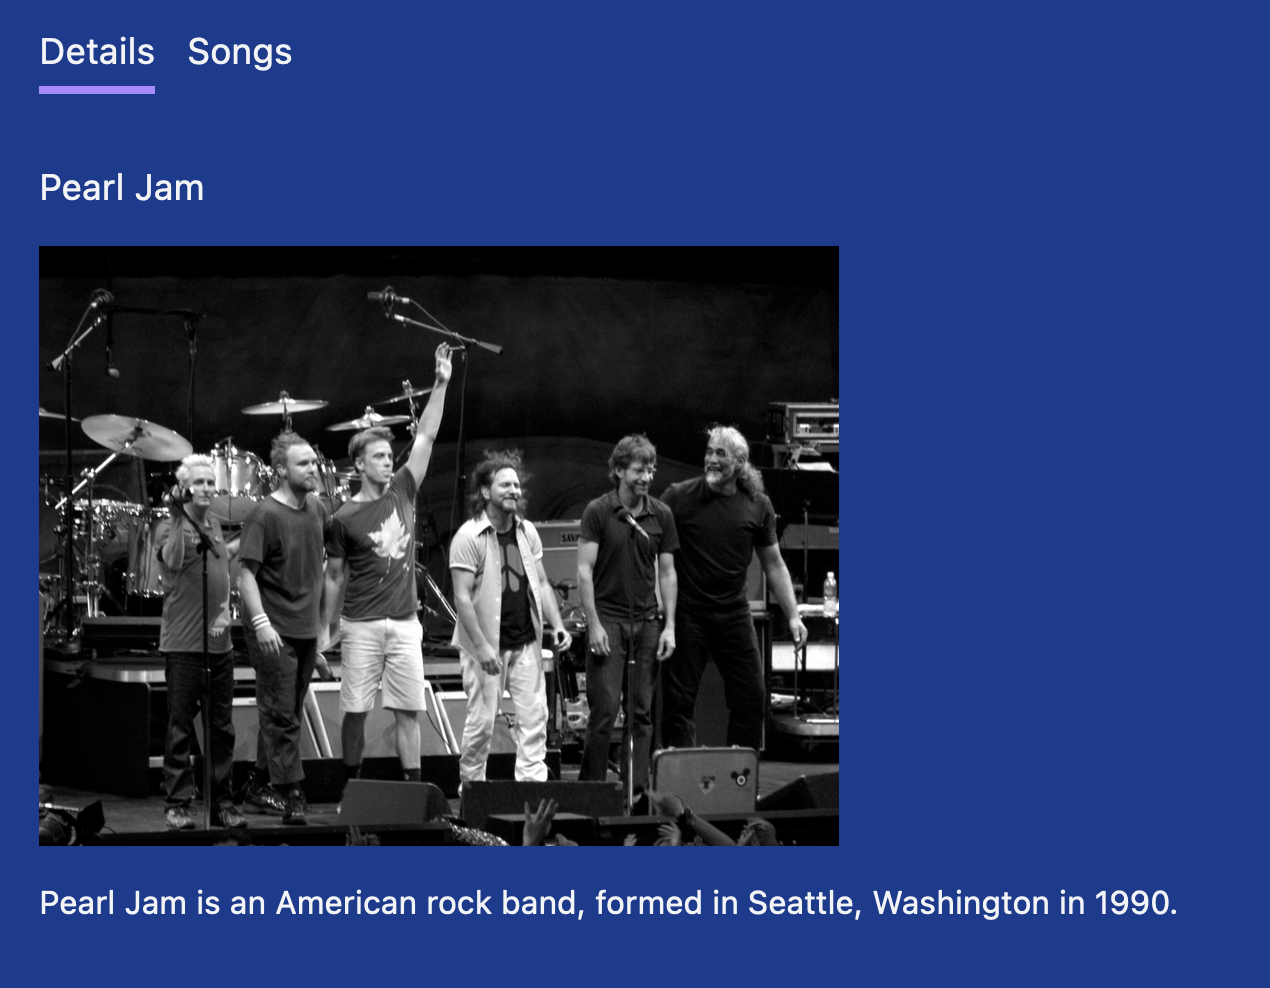
Finally, bands can now have an image:
Things I got wrong during development
Above the smaller bumps along the way, there were a few challenges that took more head-scratching to solve. I list them below to give a more realistic picture of the development process as it all seems deceivingly straightforward in the linear, smooth flow of a blog post.
- I got a CORS error when trying to upload an image to S3. It turned out it had nothing to do with CORS: the bucket region was incorrectly configured in the back-end so the client attempted to upload to a different bucket (that had no CORS config in place).
- I still couldn't upload the image after that: I didn't use
FormDataas the body of the request and thus the expected encoding,multipart/form-datawas not used which resulted in AWS sending back an error. - URLs of uploaded images didn't work:
imgtags using them assrcdidn't display. This was due to a wrong bucket policy: instead of definingarn:aws:s3:::rarwe-dev/image-uploads/*as theResourceof the bucket policy, I only hadarn:aws:s3:::rarwe-dev/image-uploadswhich didn't give read access to child objects within that folder.
What's next?
What we have working so far is just the first step.
We don't have any validation of the images, or error handling. Images can not be removed, or updated and they are not displayed anywhere (for the last screenshot I stepped ahead of the blog post). So there is definitely material for at least one more blog post – stay tuned!
Share on Twitter