Setting up a client-server development environment
26 February 2021
(I'd like to thank Mattia Gheda for bringing my attention to the idea of client-server development, and him and Ben Borowski for answering my questions.)
The idea to develop a rich web app on a server instead of my trusty old Macbook seemed interesting (in the literal, not the ironic) sense of the word but something I didn't think I'd need when I read Mattia's excellent blog post on the topic.
Why?
However, working on large Ember applications with a 2015 Macbook Pro (3.1 Ghz, 16GB of RAM), initial build times crept to almost 4 minutes and rebuild times hovered around 8-12 seconds. If we take a rough guess of 5 full rebuilds and 200 incremental builds a day, that's approximately 53 minutes a day, almost an hour, spent waiting for the build!
You can say that one doesn't wait for 4 minutes twiddling their thumbs and you'd be right - but it makes it even worse. 4 minutes is enough to make a coffee (good), thinking ahead of what the next step in your development flow is going to be (good) but it's also vastly sufficient to "quickly check Twitter" (very bad). Others might be different but if I have to wait more than 5-6 seconds, I'm either itching to use the time in other ways, or I lose my train of thought. I can (and sometimes do) use apps to block sites that can be time sinks, but it's hard not to lose your mental flow.
Another advantage that the client-server dev environment has is that processes running on your laptop (the client) don't affect build times. With the old setup if I was using Zoom, for example, build times became even less bearable, as different power-hungry apps were vying for resources. With cient-server, you can run a pair-programming app, have a video call, or run a video compression process, and your app will build as fast as before.
My main reason, however, was that I wanted to cut down on these monstruous build times and stay in the zone for a much larger part of the day.
Ways to address the problem
There are many ways to have a faster machine as it relates to building JavaScript apps: I could buy more memory or even replace my MBP with one of those shiny new M1 based ones. I decided against the former because even though I like to use my gadgets for a long time, I wasn't sure if it was a memory problem and I would've had to go without a couple of days without my laptop. The M1s seems amazing but from what I could tell, unless the software you run leverages Apple Silicon, it's not that much faster. Node.js, as far as I know doesn't run on Apple Silicon.
(UPDATE: It seems Node.js now does run on Apple Silicon, so if you're doing JavaScript development, that's good news and one more reason to buy such a laptop.)
Last, but not least, I started nerding out about the idea of setting up a server in my home and when I saw these Intel MiniPCs (the last time I set up a "desktop" computer was about ~20 years ago), I was sold. So all of the above might be after-the-fact rationalization and the other options might have proved just as good: I'm not saying this is the one and only solution, and there might be a better one for your constraints, budget, etc.
The parts
Based on what Mattia and Ben bought for their server, I got my hands on the following parts:
- Intel NUC10i7FNH Performance Kit - ~$660
- Samsung 970 Pro M.2 PCIe (1 TB) - $390
- Kingston Value Notebook DDR4 2666 Mhz (64GB) - $290
The total pack set me back by $1340 but keep in mind that Hungary, where I bought them, have a whopping 27% VAT (aka. sales tax) so this could be less if you live elsewhere. I didn't do a whole lot of research and mostly relied on what Mattia and Ben had, so you might be able to bring down the cost further without compromising on performance.
Setting it all up
The hardware
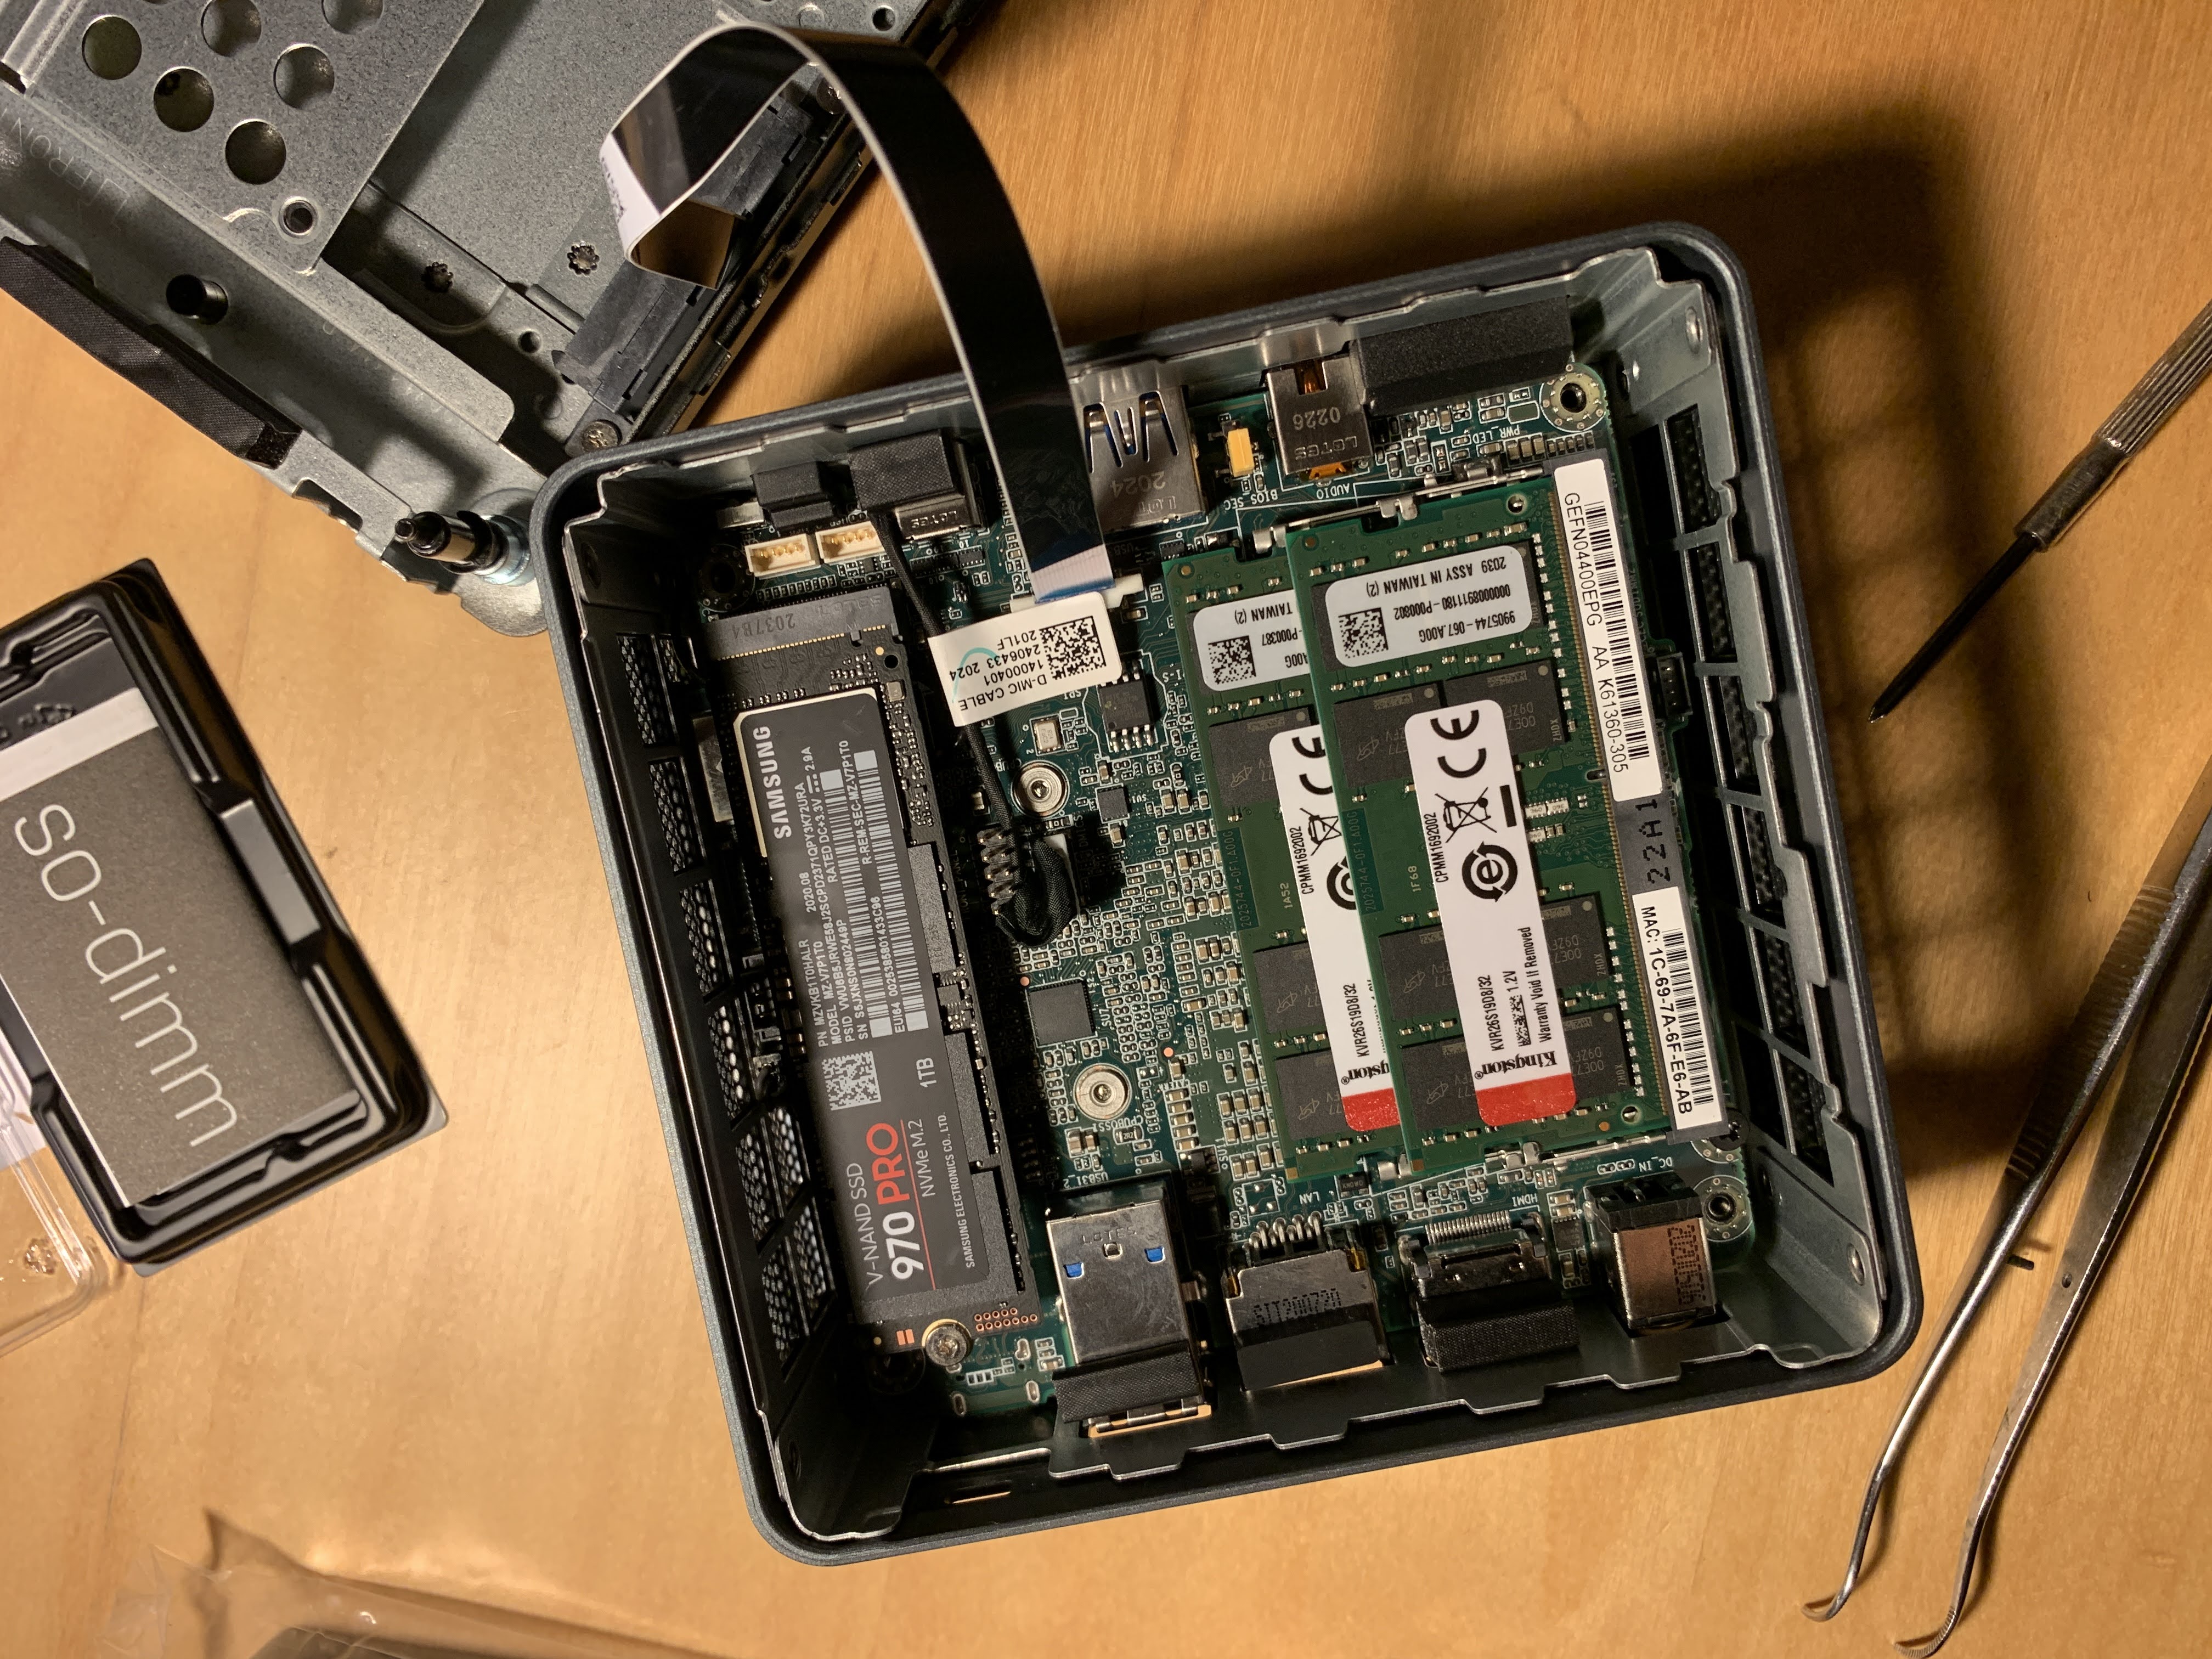
I knew the PC would be small (after all, it says so in the name) but I was still surprised how small it was.
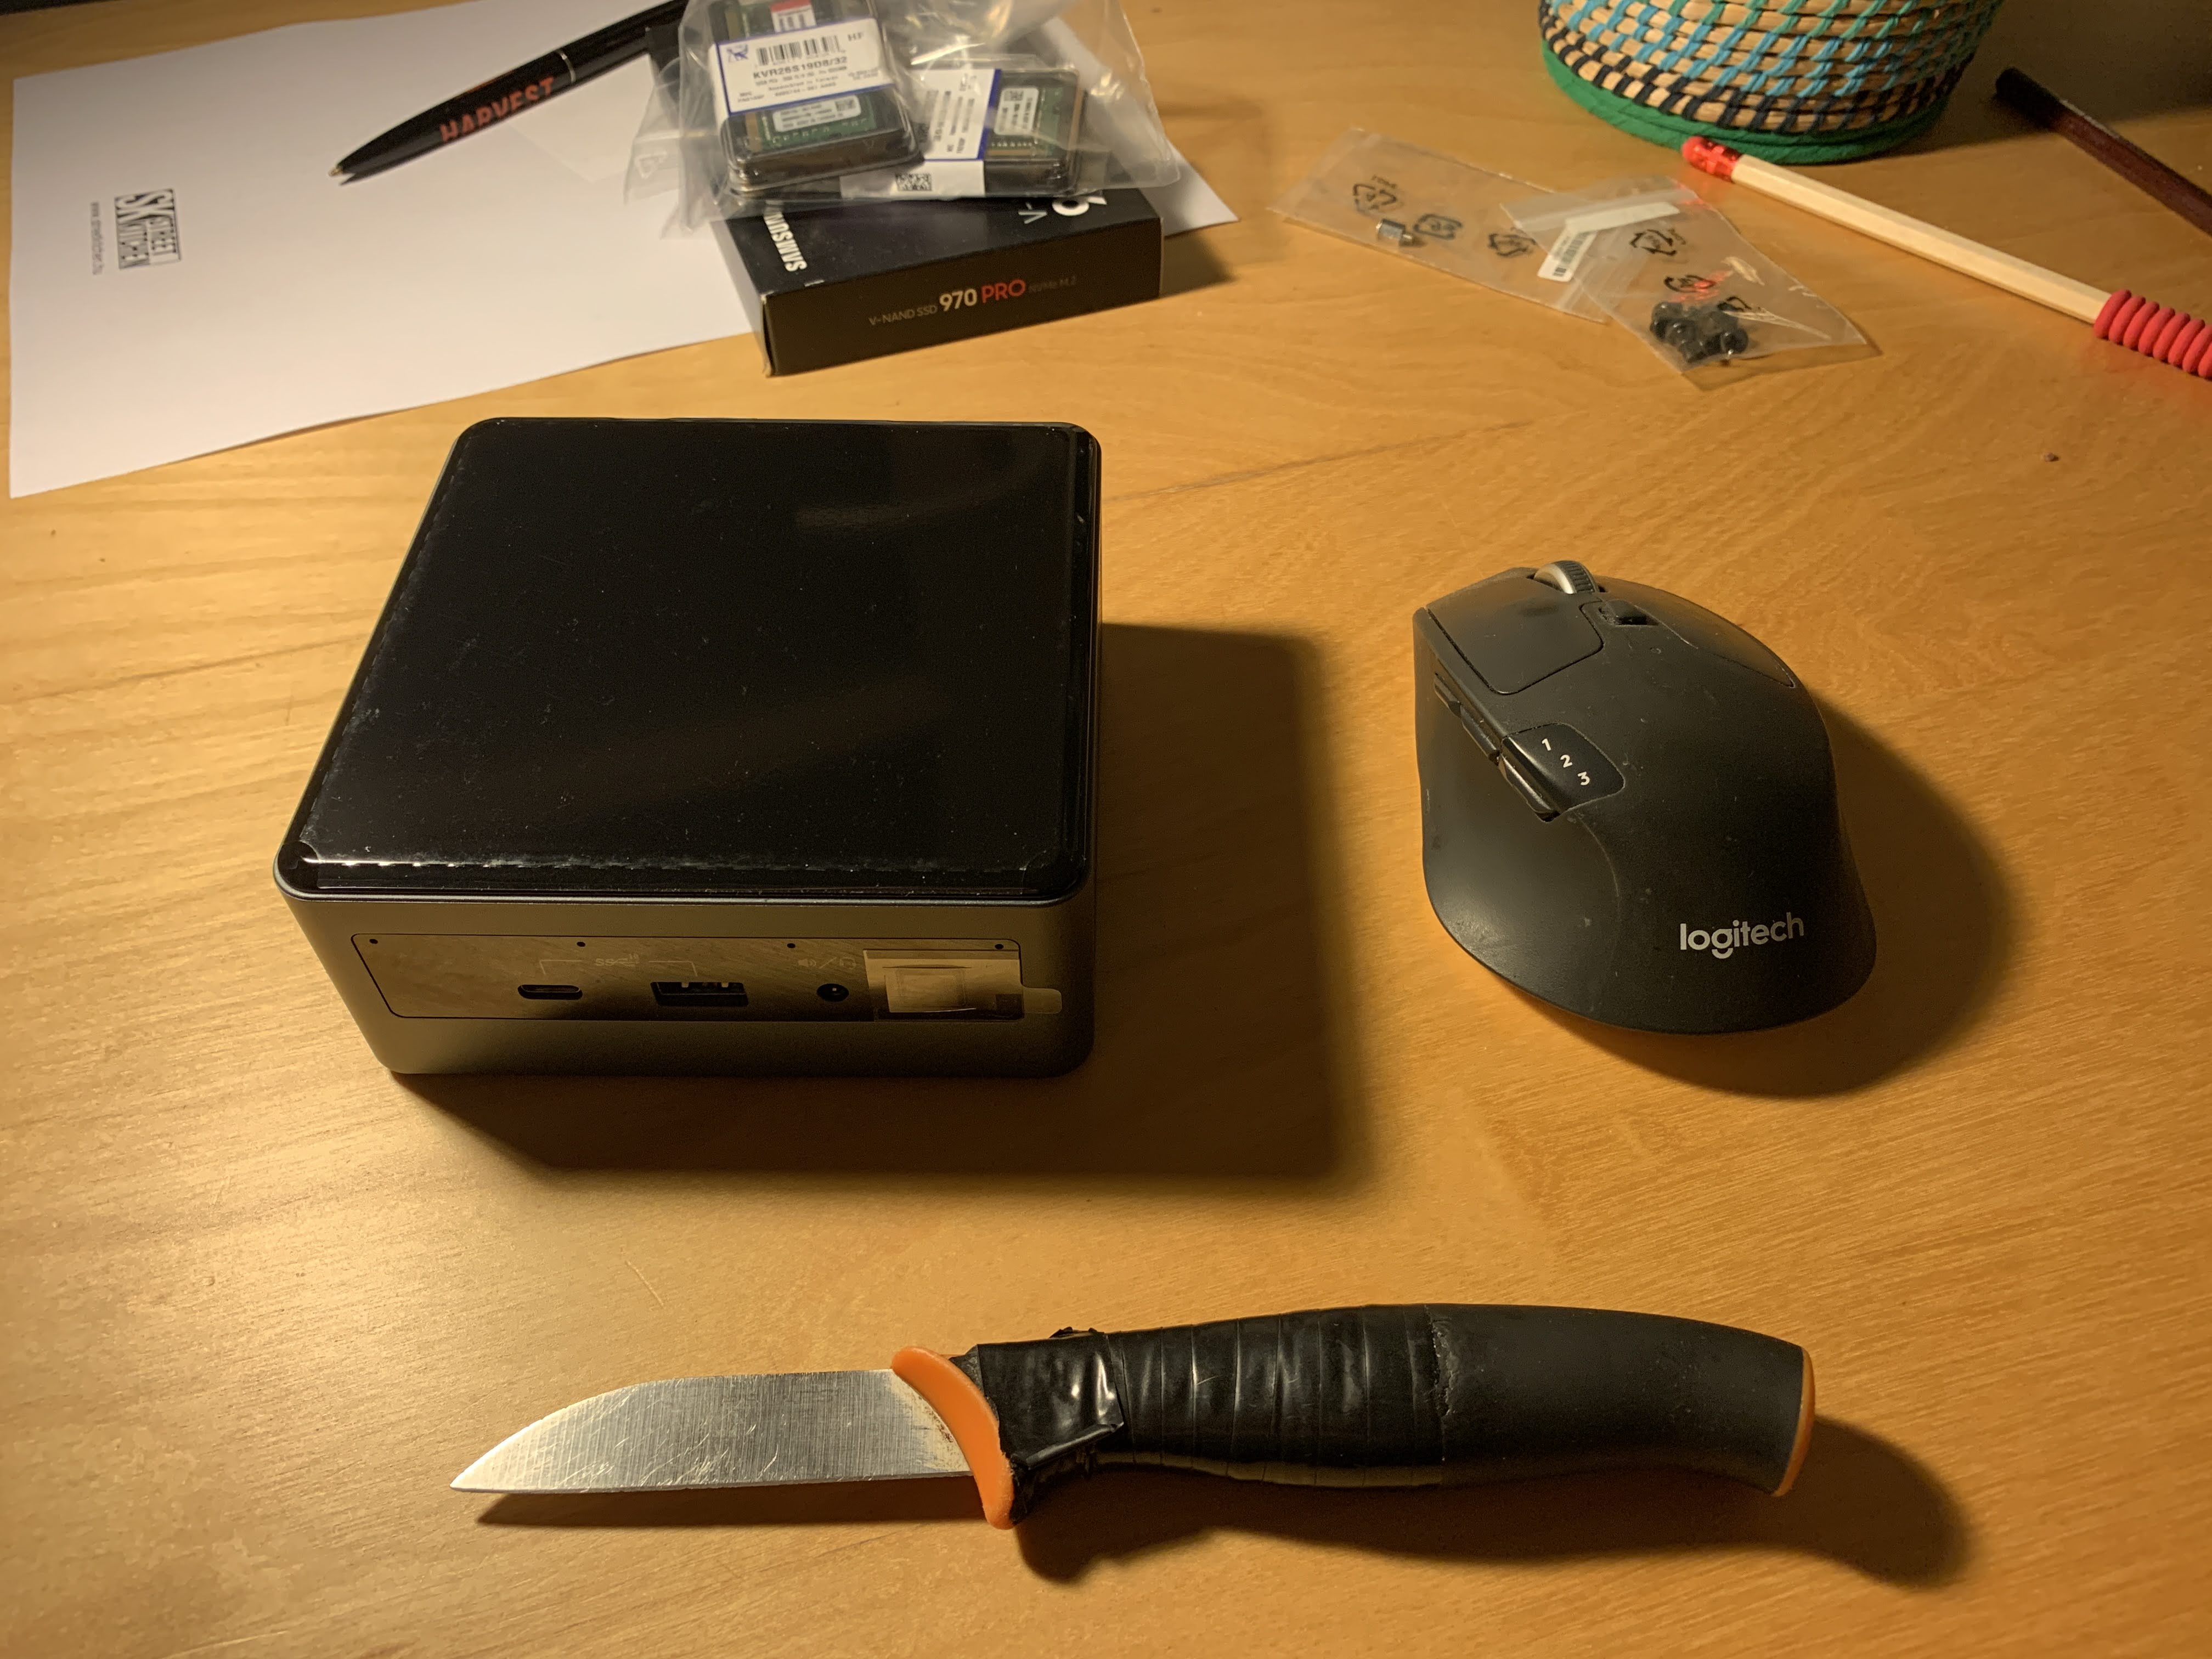
I instantly loved it, it was so elegant and tiny. Putting it together was rather easy even for someone not very skillful at such things like I am. I watched a video to make sure I'm not destroying anything in the process, and with my boosted confidence, I assembled the whole jewel box in about 30 minutes.
I downloaded the ISO disk image version of Ubuntu Server, and flashed it on a USB stick using an excellent little app called Etcher (which Ubuntu recommend in their setup guide). I hooked up my external screen to the NUC, plugged it into the router, inserted the flash drive into it, and turned on the power button. I spent less than an hour setting up the OS, at the end of which I had a working home server.
Tool configuration
Since I wanted to use the server for (mostly JavaScript) development, I installed Node.js via snap (which is a package manager for Ubuntu). All the other packages I needed were installed during the initial setup process.
Next, again based on Mattia's recommendation, I assigned a static LAN IP to the server in the router's configuration so that I can easily connect to it knowing its IP will never change. As I'm a chess fan, I named the server 'caro-kann', based on a popular opening and added <static IP of server> caro-kann to /etc/hosts - this way, the server is just an ssh caro-kann away.
I then created an SSH key pair for use with Github on the server, to be able to pull from and push to Github repositories. That came handy, as most of the shell configuration I use every day is stored on GH, so after checking it out and some wiring, I had most of the commands at my disposal just as during "pure" local development.
VSCode
Probably the best part is how easy it is to use my text editor, VSCode, on the server. It's fully capable of remote development via SSH through a couple of extensions. The best part is that when the extension is active (that is, you have a remote folder open in your editor), all ports opened by the remote server are forwarded to your client. That means that you can access your Ember app at localhost:4200, and your tests at localhost:7397, so the development experience is just as if you were developing locally.
Regarding extensions, you have to enable them specifically to be used in the remote environment.
Terminal access
As I added the server's static IP to /etc/hosts on my laptop, it was very easy to ssh into it when I started the workday. However, since the connection was closed when I closed my laptop at the end of the previous day, I still needed to change into the right folder, start the (ember) server, the testing process, etc.
This is what tmux, a terminal multiplexer, is for. You start a tmux session and within this session you run several terminal sessions, switching between them as you need to (hence the name, multiplexer). When you log out of your server, tmux, and the processes within it keep running, so all you have to do the next morning is to log into the server again and issue the tmux at (at stands for attach`) command to continue where you left off.
The results
After all, that's where the rubber meets the road, right? If I spent that money and time setting up the server, it'd better be for something. Well, I'm happy to report it was.
In that big Ember project I'm working on, the initial, cold build times went down to between 30 and 45 seconds (most of the time very close to the lower end), while rebuilds take between 1 and 3 seconds (and again, the mean build time is below 1.5 seconds). Taking the same estimates of 5 full rebuilds and 200 incremental builds a day, the total time spent waiting for the build has come down to 7.5 minutes, (not to mention that you don't really wait for a build that takes 1 second), so I recovered about 45 minutes a day!
The biggest gain, though, is again being able to stay "in the zone", maintaining my mental flow while working on a problem. This is harder to quantify but my gut feeling is that it's the more significant productivity win of the two.
Should you?
The solution I've tried for the problem I had definitely worked. That doesn't mean that you should do the same, as there are other ways to fix the excruciatingly slow builds as I briefly mentioned in the "Ways to address the problem" section.
Should you decide to try the client-server approach, I hope that this post and Mattia's provides enough information to make the setup smoother.
Share on Twitter